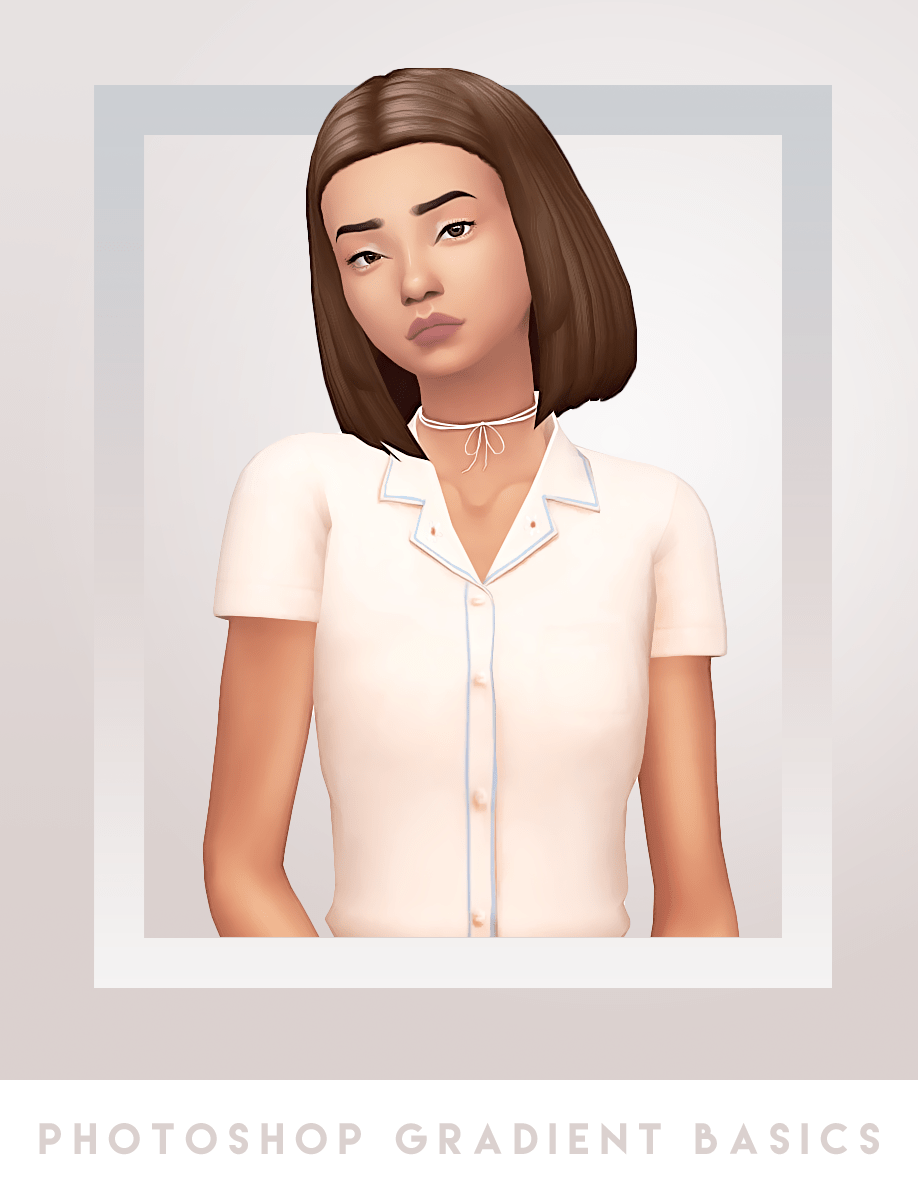
This was highly requested so here it is, finally! There are 3 parts
to this tutorial. You can just read one part at a time or conquer it all
at once 🙂
Step 1. Start with a cutout sim with a transparent background. Now go to the top and choose Layer>>New Fill Layer>>Gradient. Click OK once when the window pops up.
Step 2. Now you should see this window. Double click the gradient so we can change the colors.
Step 3. Change the color of the gradient by clicking the Stops
(little tabs). You can change the opacity by clicking the upper stop,
and you change the color by clicking the lower stop. You can click
anywhere to add more stops (colors). I went with just two subtle colors.
Click OK when finished.
Step 4. Choose your Gradient Style, I chose radial. You
can actually move the gradient around by clicking and dragging it, I
moved it up to the right a little bit. Click OK when finished.
Step 5. Finally move this layer below you sim and you now have a
gradient background! You can always adjust the gradient by double
clicking the little gradient icon.
Step 1. Go to the top bar and select Layer>>New>>Layer. Drag this layer so it is between your background and sim. Now click the Rectangle tool. (make sure “fill pixels” is selected at the top)
Click and drag to create a rectangle behind your sim, it doesn’t matter what color it is.
Step 2. Now click on “Fx” at the bottom of the layers window and select Gradient Overlay.
Step 3. Click on the gradient to change the colors. I did 3 colors this time and changed the style to Linear. I kept the angle at -90′, but you can play around with that. Then click OK.
Step 4. To create a border go to the top bar and choose Select>>Load Selection. Click OK. Now choose Select>>Modify>>Contract. I chose 50px, now click OK. Then hit delete on your keyboard to delete the middle section.
Step 1. Create another new layer and drag it to the top. Now click on the Gradient Tool.
I used the two colors #b8aaa1 and #ffffff. Next to the gradient at the
top you will see the gradient styles. I just kept the first one which is linear.
Step 2. Click and drag to apply the gradient. You can drag in
any direction and the length of the drag can vary. Then set this layer
to Soft Light to give it a softer effect. You can play around with the colors of the gradient and the blend mode of the gradient.
These are just some basics. My best advice to to play around with the gradients and experiment with the different options 🙂